
As a rule, setting up automated website deployments renders a drastic increase in deployment success rates and frequencies. SMBs in particular benefit from automating deployment for several reasons. Once you set up an automated deployment, you are better able to produce high-quality websites and apps with less waste, because you can deliver small increases in functionality to end users frequently and react faster to market demands. Moreover, automated deployments do not suffer from variability; once configured, the process is the same every time a release is initiated. Thus, it is economically sound to invest time and resources into setting up automated deployment.
Following this short, down and dirty guide will help save you nerves and time, especially if you have a relatively large team of developers and opt for the Git Flow branching model. By utilizing the latter in concert with a hook script to automatically roll out websites to production servers every time there is a commit to master, you can streamline your release cycles – resulting in greater transparency and stability, as well as allowing your team to be more flexible and move significantly faster.
Contrary to conventional wisdom, Dreamweaver is a decent editor that offers many handy tools wrapped in a friendly and simple interface. Whether you currently believe this or not, the one thing Dreamweaver lacks is Git integration. There goes versioning with your beloved distributed version control system (DVCS) along with push and subsequent automated deployment with hooks, right? Well, not quite.
I’m about to share a step-by-step walkthrough on how to set up Dreamweaver, Git and Bitbucket to play nicely together and handle automated deployments to your server/hosting using POST hooks.
The expected workflow is as follows:
- You commit changes to your local repository (repo) and push them up to your Bitbucket repo;
- Bitbucket sends a POST request to a deployment script on your server;
- If you committed changes to a specific branch, the script deploys them from Bitbucket to your server.
Prerequisites
For the purposes of this article, we assume that:
- You opt for Dreamweaver;
- You are on a Windows machine;
- You are a Bitbucket fan, because you believe that free private repositories for up to five users rock;
- You have a server/hosting account;
- You have shell access to that environment;
- The PHP exec function is enabled there;
- You are at least a little familiar with Git.
Preparing the local environment
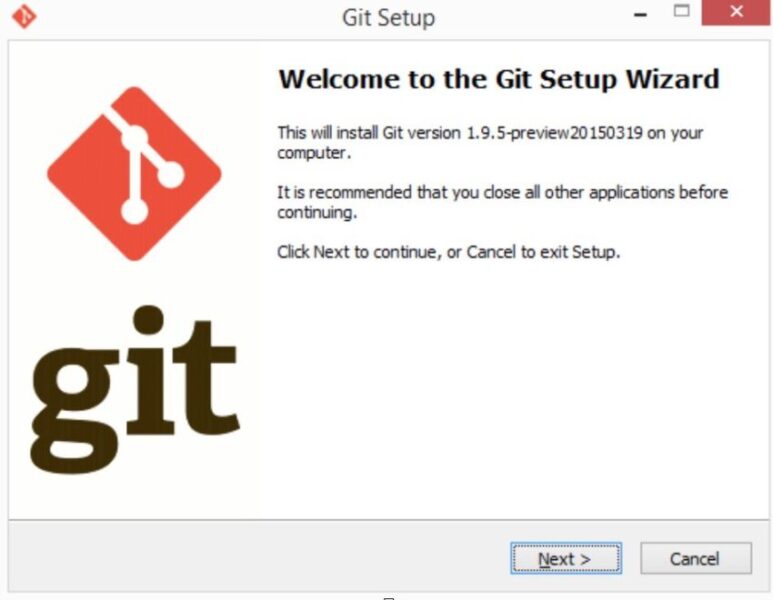
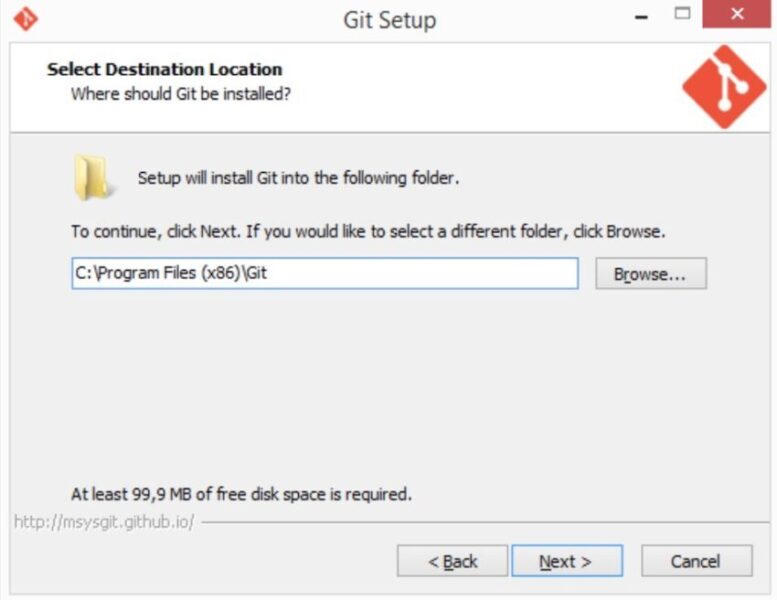
The first thing that you have to do (if you haven’t done it already) is to install Git on your local machine. To do that, follow this link and run the automatically downloaded setup file. Given that the installation process is straightforward, I recommend omitting explanations leaving the default settings as-is, except for one; I suggest changing the default installation folder from C:\Program Files (x86)\Git to whichever folder you prefer.


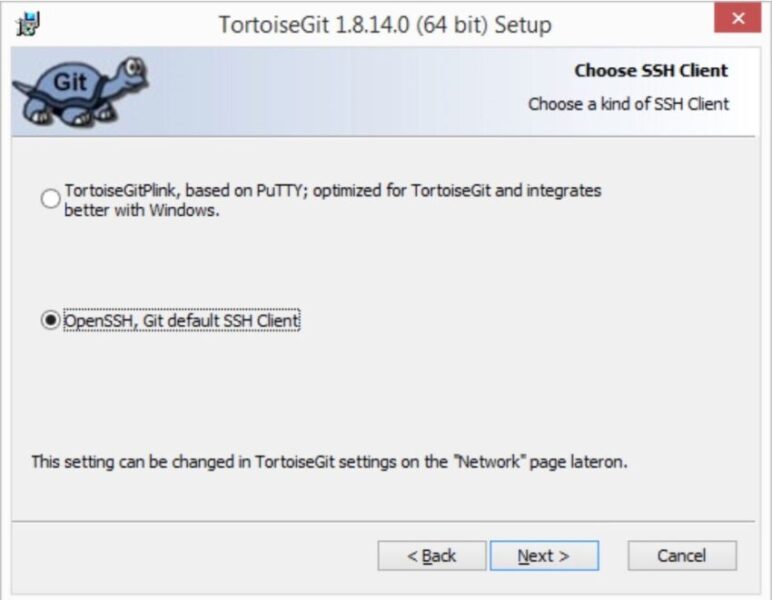
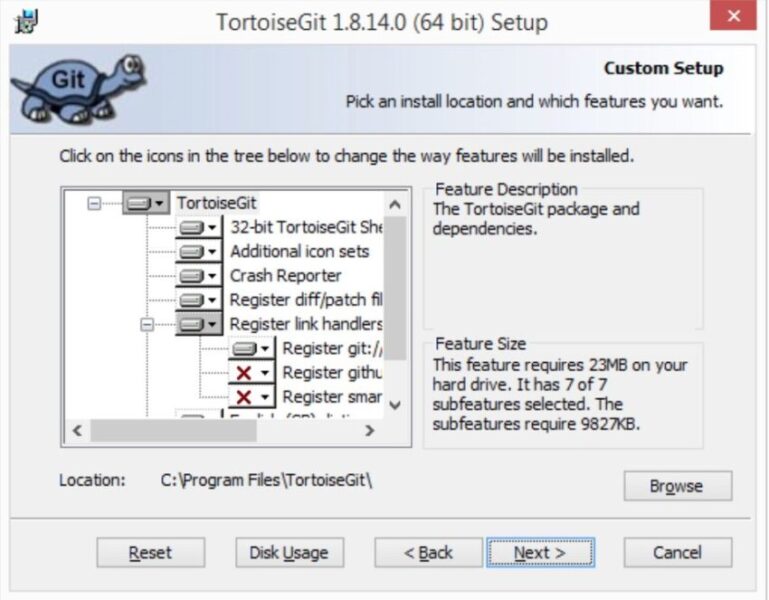
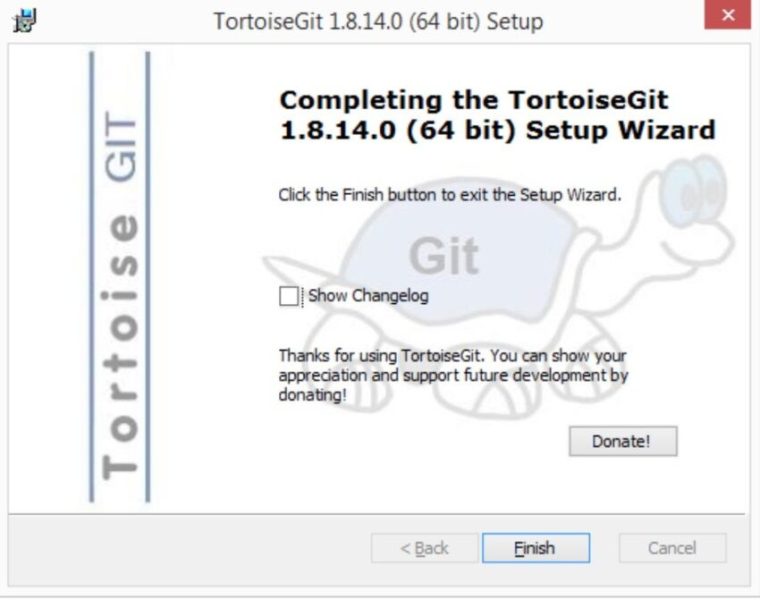
Next, we need to download and install TortoiseGit, a Windows shell interface for Git that is available here. Follow the link and download a version that corresponds to the version of your operating system (i.e. 32-bit or 64-bit). The same installation rule applies here; use default settings except for two:
- Change the default installation folder from C:\Program Files\TortoiseGit to whichever folder you prefer;
- Tick the OpenSSH, Git default SSH Client, as we will be using SSH to connect to your Bitbucket repository.


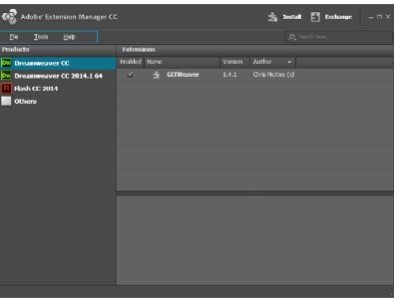
You also need to download the GITWeaver plugin, developed by Chris McKee, which hooks Dreamweaver into TortoiseGIT. Follow this link to Chris’s GitHub repo and download the file, which corresponds to your Dreamweaver version:
- For CC/CS6 you need to download the .zxp file;
- For all other versions, you need to download the .mxi file.
Once you have downloaded the corresponding file, run it, and the Adobe Extension Manager will handle the installation.*
* At this point, you may face an issue where the extension manager doesn’t see that you have Dreamweaver installed. To fix that, update Adobe Extension Manager to the latest version via Creative Cloud.

Finally, you have to set up your Bitbucket repo:
- Follow this link and enter your credentials as shown below:

2. Select Empty, enter the name of your repo, untick the checkbox if you want your repository to be visible to public and press Create:

3. Somewhere along the way make sure to confirm your email address:

4. Press Done to finish setting up the repo:

Setting up an identity
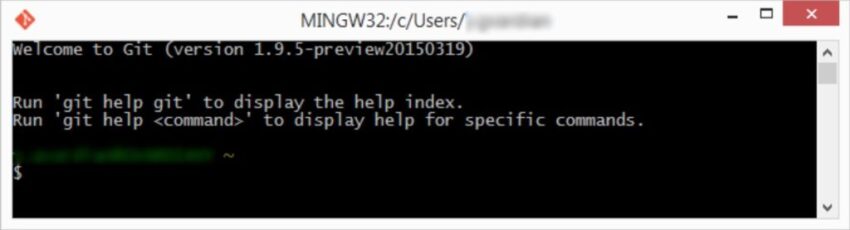
Now it is time to set up an identity on your system for Git to use when communicating with Bitbucket. To do that, run Git Bash, which by now should appear in your Start menu:

Type in ssh -v to verify that you have SSH installed and ready to go. If you do, then the response that you get should look like this:

You will now need to type ssh-keygen and press enter to create a pair of keys that will identify you to other systems:
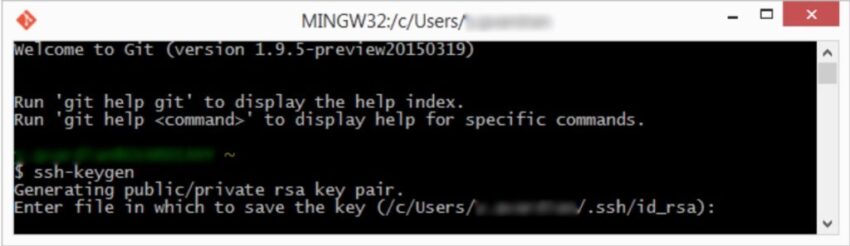
The console will prompt you to specify the filename in which to save the keys. Accept what it automatically suggests by pressing enter. Then you will be prompted to enter a passphrase and confirm it:

Don’t get too excited if you don’t see any characters appearing in the console as you press keys on your keyboard; they remain invisible so you will just have to carefully type in a password of your choice, hit enter and then do that once again to confirm it. Once you are done, you will end up having something like this:

To ensure that a public and a private key have been successfully generated, enter ls -a ~/.ssh into the console and press enter. If they have, then the response will list two files named id_rsa and id_rsa.pub:

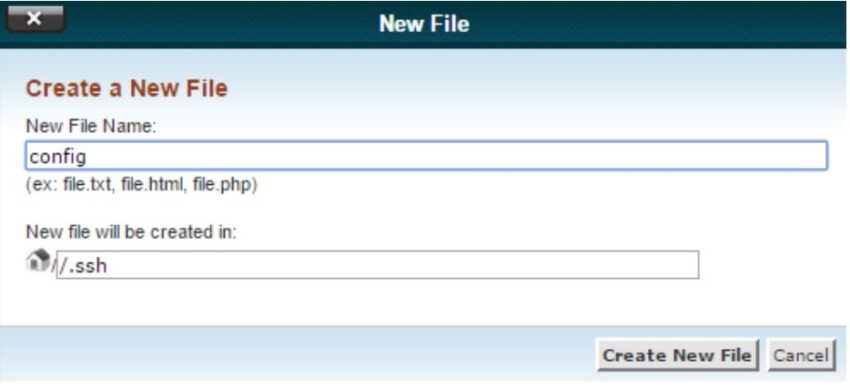
Now you need to create a configuration file, which would specify Bitbucket as a host and pinpoint where the key is located. To do that you need to go to your .ssh folder and create an empty file there called config. This file should not have any extension.*
*At this point, you might be facing two problems: locating your .ssh folder and creating a file without extension. If you have not changed any default settings during this process, your .ssh folder should be located at C:\Users\%YourUserName%\.ssh. If not, then I suggest using search in Windows explorer to look for the generated id_rsa.pub key, which is located in the .ssh folder. In order to create a file without extension called config, you can use Notepad++. Simply create a new file there, click Save As…, type in config under File Name, select All types under Save as type, and click Save.
Copy and paste the following two lines into your newly created config file and save it (please, note that the second line is indented by one space character):
Host bitbucket.org
IdentityFile ~/.ssh/id_rsa
If Git Bash is open, close it and open it again. At this point we need to create a file called .bashrc in our root folder (the parent folder of .ssh, which in our case is C:\Users\%YourUserName%\). This file will automatically start an ssh agent when Git Bash is launched.*
*At this point, you might be facing the problem of creating a .bashrc file. Use Notepad++ to do that. Create a new file there, click Save As…, type in .bashrc under File Name, select All types under Save as type, and click Save.
Copy and paste the following lines to your newly created .bashrc file and save it:
SSH_ENV=$HOME/.ssh/environment
# start the ssh-agent
function start_agent {
echo “Initializing…”
# spawn ssh-agent
/usr/bin/ssh-agent | sed ‘s/^echo/#echo/’ > “${SSH_ENV}”
echo succeeded
chmod 600 “${SSH_ENV}”
. “${SSH_ENV}” > /dev/null
/usr/bin/ssh-add
}
if [ -f “${SSH_ENV}” ]; then
. “${SSH_ENV}” > /dev/null
ps -ef | grep ${SSH_AGENT_PID} | grep ssh-agent$ > /dev/null || {
start_agent;
}
else
start_agent;
fi
Close and open Git Bash once again. When reopened, it should prompt you to enter the password, which you specified earlier when you generated the keys.

Type in the password and press enter. You’ll get a response, which says Identity added.*

*At this point, you might face the following problem: if you close Git Bash before you type in your password and press enter, Git Bash will no longer prompt you to enter the password when opened again. To fix that issue, close Git Bash, go to your .ssh folder, delete a file, called environment, then open Git Bash again and you should be good.
Just to make sure that your identity has been added, type in ssh-add –l. The response you get should look like this:

Finally, we need to add that key to Bitbucket so that it can successfully authorize us. Log in to your newly created Bitbucket account, click on your avatar in the top right corner and click Manage Account:

Click SSH Keys in the sidebar on the left.

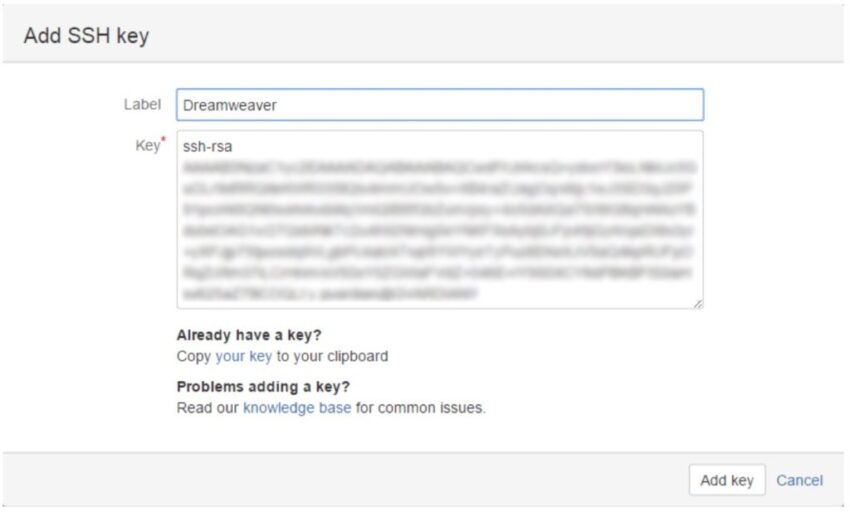
Click Add key to open up a window where we will paste our generated SSH key.

Open Git Bash, type in cat ~/.ssh/id_rsa.pub and press enter. This command will respond with our public SSH key:

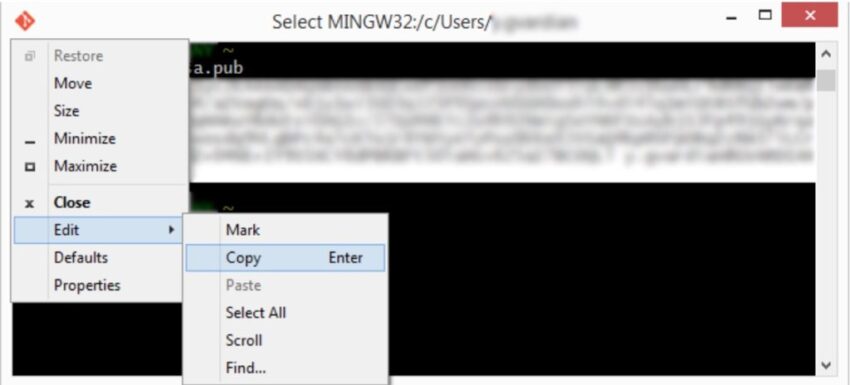
Click the icon in the top left corner of Git Bash window, select Edit and Mark.

Drag the mouse over all the lines that contain the key (it begins with ssh-rsa).

Once selected, click the icon in the top left corner again, select Edit and Copy.
Paste the copied key to Bitbucket, give it any name you want and click Add key:
Now if you go back to Git Bash, type in ssh -T git@bitbucket.org and press enter, you will get a response, confirming that you are logged in:*

*At this point, you might get another response where you need to type in yes and press enter to proceed. If prompted, do that.
Befriending Dreamweaver and Bitbucket
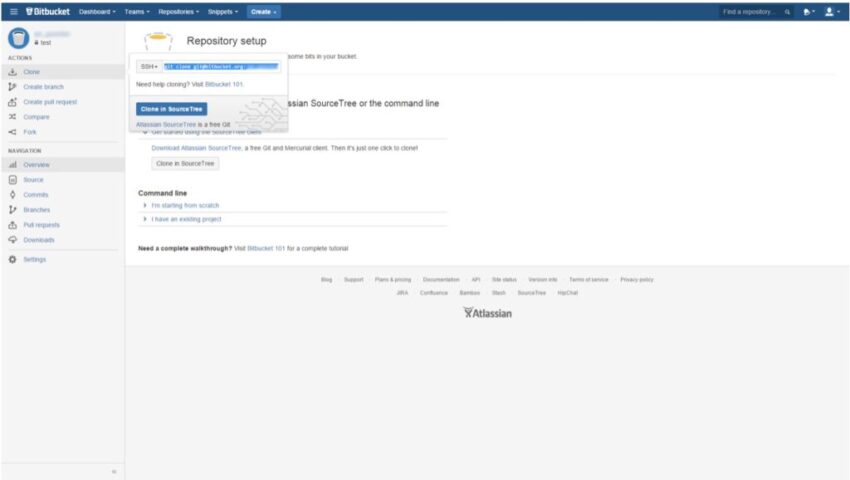
For the sake of simplicity, we will now clone our empty Bitbucket repository to our local machine. To do that, go to your Bitbucket repository, select Clone in the sidebar on the left, pick SSH in the dropdown menu and copy the line highlighted in blue.
Create a new folder on your local machine, name it whatever you like, right-mouse click it and select Git Clone….*

Proceed pasting the copied line into the URL field in the window that pops up and click OK.*

*At this point, you need to be aware that TortoiseGit will automatically suggest cloning your Bitbucket repo to a child folder of the folder that you specified. E.g., if you right-mouse click C:/Git and press Git Clone…, TortoiseGit will automatically suggest C:/Git/test as your local repo location (where test is the name of your Bitbucket repo in lowercase).
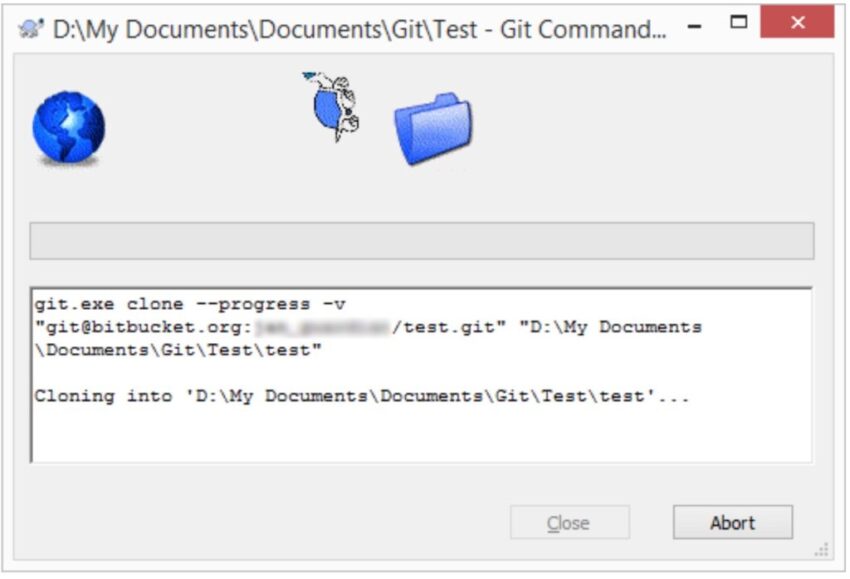
TortoiseGit will begin cloning your repository:
You will be prompted to enter the same password that you chose when you generated the keys. Type it in and press OK:

TortoiseGit will notify you of your success:

Finally, you can test whether you can push your commits to your Bitbucket repo straight from Dreamweaver. For the sake of simplicity, I’ll be using the master branch for our needs and will not go into Git branching models.
What you need to do now is open Dreamweaver and create a new site by clicking Site/New Site… in the top menu. Pick whatever name you like and specify the location to where you cloned your Bitbucket repo and click Save:

Once done, create an empty .html file and save it as index.html in the location to where you cloned your Bitbucket repo (our site root folder now). Right-mouse click it in the Explorer in Dreamweaver, select GIT and click Add.

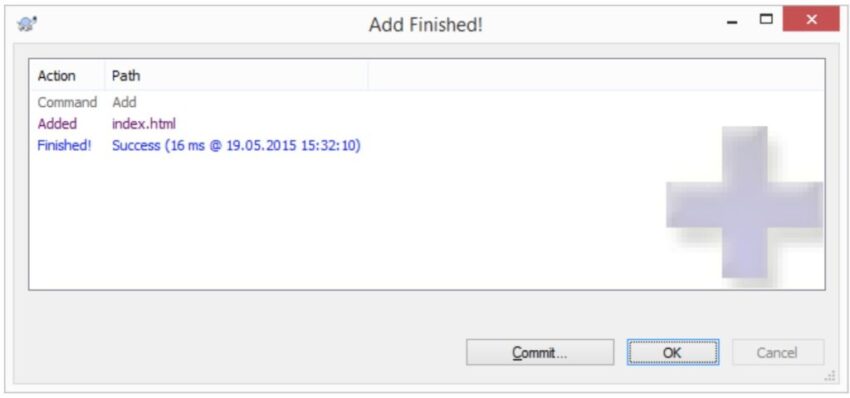
A window will pop up. Click OK to add index.html to your local repo:

You will be notified of success via another pop up window. Click Commit… there to commit your newly made changes.
Enter a commit message in the Message window. Tick Set author date and Set author checkboxes to keep better track of when things got changed and who to blame.
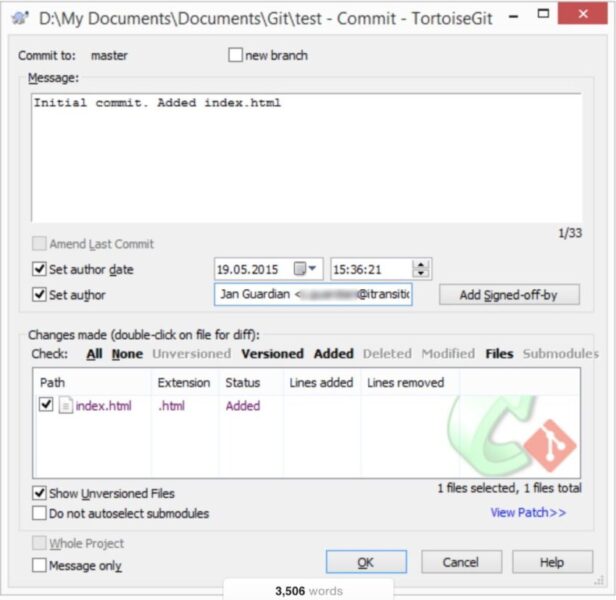
Press OK to start the process.

Upon success, a window will pop up offering you to push your new commit to a remote repository (Bitbucket in our case). Press Push… to do that.

Click OK to confirm.

Pushing will be initialized and you will be prompted to enter your password. Enter it and press OK.


You will then be notified of success.

Finally, you can check the results of your hard work by going to your Bitbucket repo and selecting Commits in the sidebar on the left. You will then see the details of your first commit. Good job! We’re halfway there!

Cloning Bitbucket repo to server
Your next task is to set up automated deployments from your Bitbucket repo to your server. We’ll be using Hostgator shared hosting to cover additional details specific to hosting environments. First, we will clone your Bitbucket repo to the server.
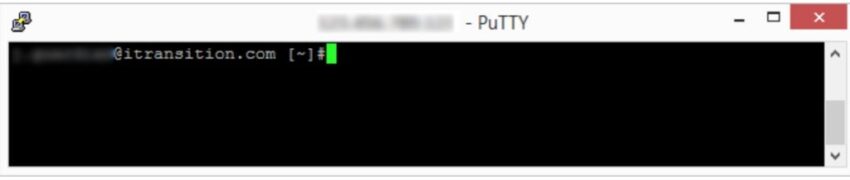
Given that SSH access is enabled on all Hostgator hosting accounts by default, all we need to do is to connect to the server. Visit this link, download PuTTY (you need a file named putty.exe), a free SSH client, and run it.
Log in to your cPanel and copy the IP Address, which is located in the bottom of the sidebar on the left.

Switch back to PuTTY and paste the IP Address to the textbox located under Host Name (or IP address). Enter the corresponding port number under Port based on your account type:
- Shared and Reseller accounts – 2222;
- Dedicated and VPS – 22.
Press Open and enter your cPanel login and password when prompted.* You will receive the following response:**
*At this point, a window might pop up asking you to accept connection. Click Yes.
**No, we do not host our website on Hostgator. The cake is a lie.
Once logged in, navigate to .ssh directory of the user that PHP runs under by typing cd ~/.ssh and pressing enter. If you receive a response that there is no such directory, you will have to create one by typing mkdir .ssh and pressing enter. Once done, navigate to ~/.ssh directory as described.

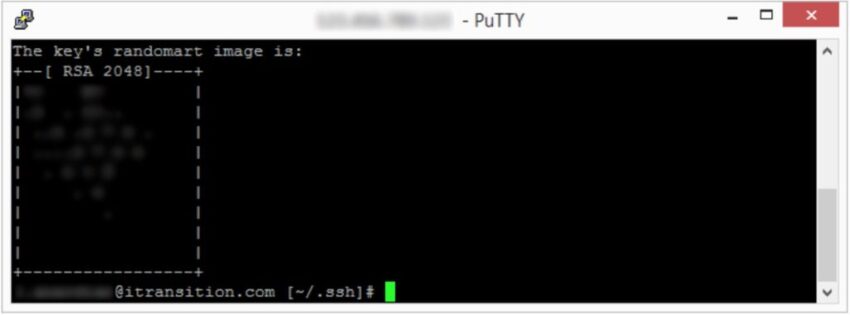
Now we need to repeat the procedure of generating a pair of keys, but on the server this time. Type in ssh-keygen -t rsa and press enter. Press enter again to accept the default id_rsa key name. When prompted to enter your password, simply press enter to create a passwordless key. Though not recommended in other scenarios, we need it to be able to connect to Bitbucket without a passphrase. Ultimately, you will receive a success response, which looks like this:
You also need to create a config file similar to the one we created earlier and add Bitbucket as a host. In your cPanel navigate to File Manager, open it, type in .ssh and press Go.

This should open the .ssh folder on the server. Create a config file there by pressing New File in the left top corner, type in config under New File Name, and press Create New File.
Select the newly created config file and press Edit.

As with our previous config file, copy and paste the following two lines into it and press save in the top right corner (please note that the second line is indented by one space character):
Host bitbucket.org
IdentityFile ~/.ssh/id_rsa
You need to add the key to Bitbucket. Switch back to PuTTY, type in cat ~/.ssh/id_rsa.pub and press enter. The console should spit out your key. Select it with your mouse (remember that it begins with ssh-rsa) and press ctrl+с to copy it. Go to Bitbucket, open Manage Account/SSH Keys and add the copied key to Bitbucket (this procedure was described earlier).
Switch to PuTTY, make sure you’re in the root directory by typing cd ~ and pressing enter, type in git clone git@bitbucket.org:<username>/<repo>.git where <username> is your Bitbucket username and <repo> is the slug name of your Bitbucket repository (we’ll use <username> and <repo> hereinafter, so be careful and do not copy/paste the rest of the commands blindly). This procedure will clone your Bitbucket repo into a directory called <repo>.git, in your home directory.
Type in cd ~/<repo>.git and press enter to switch to that directory. Afterwards, type in GIT_WORK_TREE=/home/<username>/public_html git checkout -f and press enter to checkout your master branch to public_html folder on your server.*
*You will receive no confirmation, so you will have to go to File Manager to check whether our index.html file got copied to the public_html folder. Bear in mind that the absolute address of your public_html folder may differ from /home/<username>/public_html. If so, make necessary changes to the aforementioned command.
For crying out loud! Aren’t we done yet? (Setting up automated deployment with a PHP script and a POST hook)
No, but we are done, but we’re almost there. Create a folder called deploy in your public_html directory and create three files there: index.html, deploy.php and deploy.log (most of these processes were described earlier on with screenshots included). While an empty index.html file is there so that no one can view the directory index and the deploy.log‘s extension speaks for itself, it’s the deploy.php file where all the magic happens.*
*Credit for this part goes to Jonathan Nicol for publicly sharing the php deployment script.
Edit the deploy.php file and paste the following code there:
<?php
$repo_dir = ‘/home/<username>/<repo>.git’;
$web_root_dir = ‘/home/<username>/public_html;
// Full path to git binary is required if git is not in your PHP user’s path. Otherwise just use ‘git’.
$git_bin_path = ‘git’;
$update = false;
// Parse data from Bitbucket hook payload
$payload = json_decode($_POST[‘payload’]);
if (empty($payload->commits)) {
// When merging and pushing to bitbucket, the commits array will be empty.
// In this case there is no way to know what branch was pushed to, so we will do an update.
$update = true;
} else {
foreach ($payload->commits as $commit) {
$branch = $commit->branch;
if ($branch === ‘master’ || isset($commit->branches) && in_array(‘master’, $commit->branches)) {
$update = true;
break;
}
}
}
if ($update) {
// Do a git checkout to the web root
exec(‘cd ‘ . $repo_dir . ‘ && ‘ . $git_bin_path . ‘ fetch’);
exec(‘cd ‘ . $repo_dir . ‘ && GIT_WORK_TREE=’ . $web_root_dir . ‘ ‘ . $git_bin_path . ‘ checkout -f’);
// Log the deployment
$commit_hash = shell_exec(‘cd ‘ . $repo_dir . ‘ && ‘ . $git_bin_path . ‘ rev-parse –short HEAD’);
file_put_contents(‘deploy.log’, date(‘m/d/Y h:i:s a’) . ” Deployed branch: ” . $branch . ” Commit: ” . $commit_hash . “\n”, FILE_APPEND);
}
?>
Make sure to change the value of $repo_dir and $web_root_dir variables to whatever corresponds to your environment. This script iterates over the payload object sent by Bitbucket, looking for commits made to the master branch. If found, a git fetch and checkout are performed and the deployment details are logged to deploy.log.
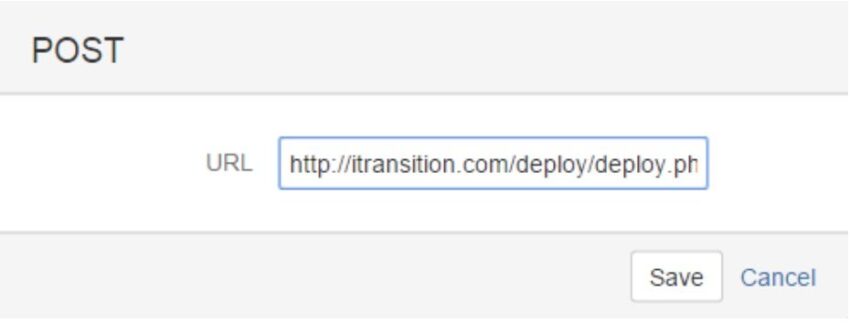
Finally, go to your Bitbucket repo, click Settings in the sidebar on the left, click Hooks, select POST from the dropdown menu and click Add hook.

Type in http://<domain>/deploy/deploy.php in the window that popped up (where <domain> is the name of your domain) and press Save.
Hooray! The torture is over!
Or is it? (Testing)
Now it’s time to test whether the whole scheme works. To do that, open Dreamweaver and modify our index.html file so that it has <p>Hello World!</p> in the <body> tag.

Save the file and commit changes to the master branch of your local repo.

Once done, press Push to push the commit to your Bitbucket repo.


Check that your commit has been pushed to Bitbucket by visiting your Bitbucket repo and clicking Commits in the sidebar on the left.

Check that your website has been deployed to your public_html folder by visiting your website.

You should see your ‘Hello World!’ message, and if you do, that means you have successfully set up Git with Dreamweaver and Bitbucket for an automated deployment of your website. Congratulations!
Jan Guardian graduated from the United Nations Interregional Crime and Justice Research Institute cum laude with an LL.M in International Crime and Justice. Though a lawyer by virtue of education, Jan has always been passionate about programming and web development, having begun his endeavors in this field back in 2000. Since then, he has developed several dozen websites and mobile apps, with one of them being awarded by the United Nations for its contribution to human rights and resolution of justice problems. He joined Itransition as a senior web developer last year and has already become a valuable member of the team, bringing many creative and inspiring ideas to life.